Makes 8 cutlets
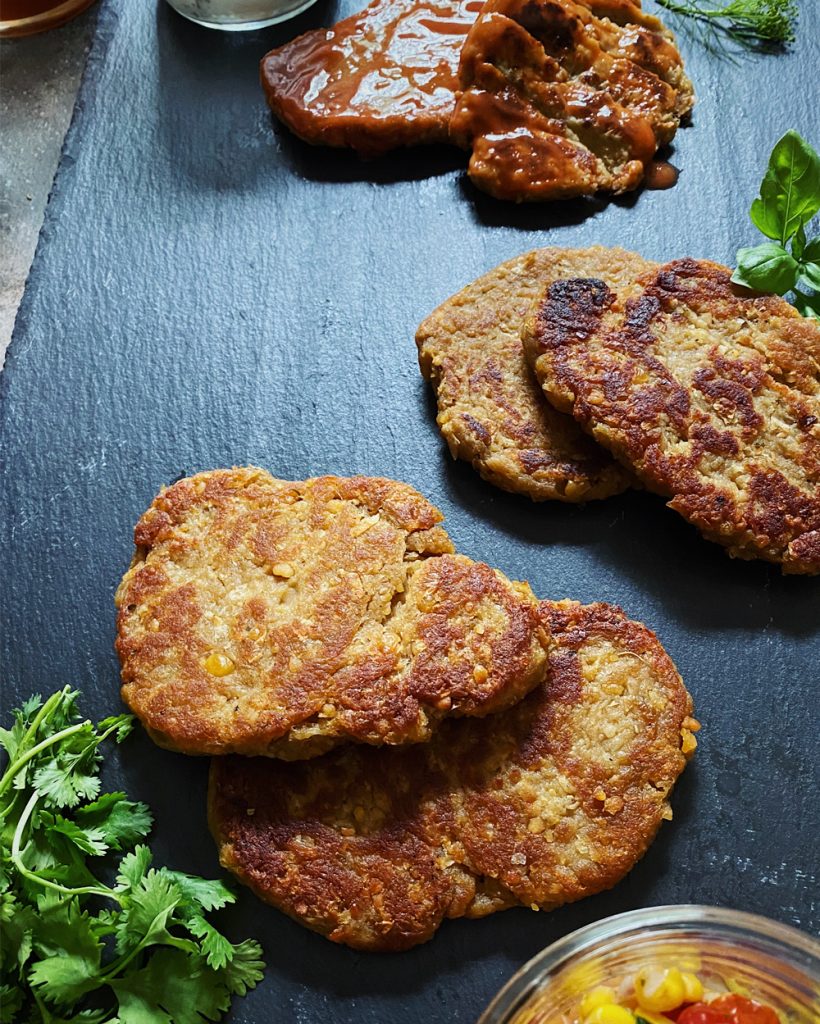
Chickpea Cutlets – vegan chicken cutlets from scratch! This recipe is a Veganomicon favorite. Vegan food that will put your lonely steak knives to work. It tastes soooo much better than anything from the supermarket. And I suppose that’s why everyone loves them and you should make extra.
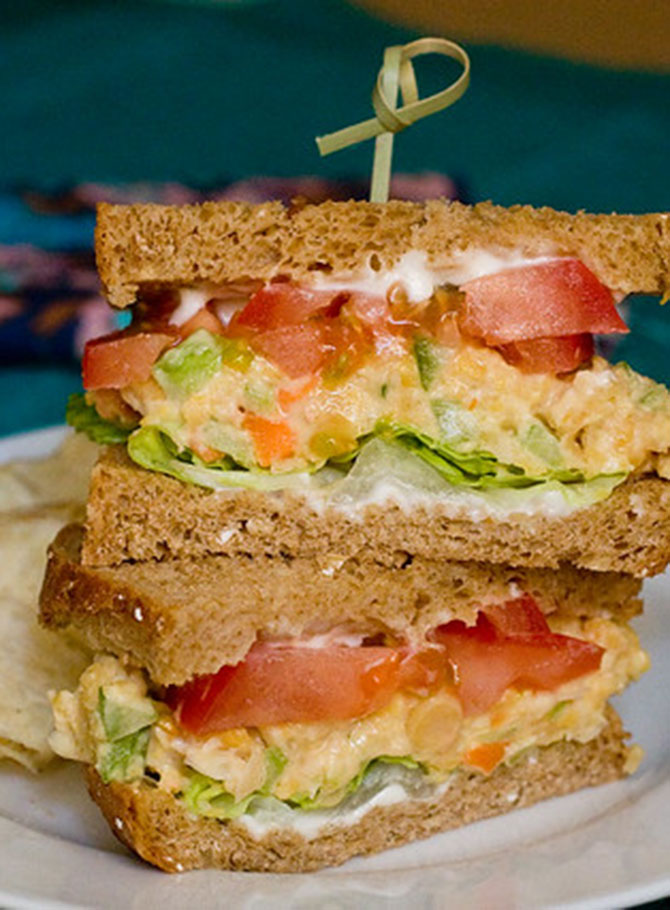
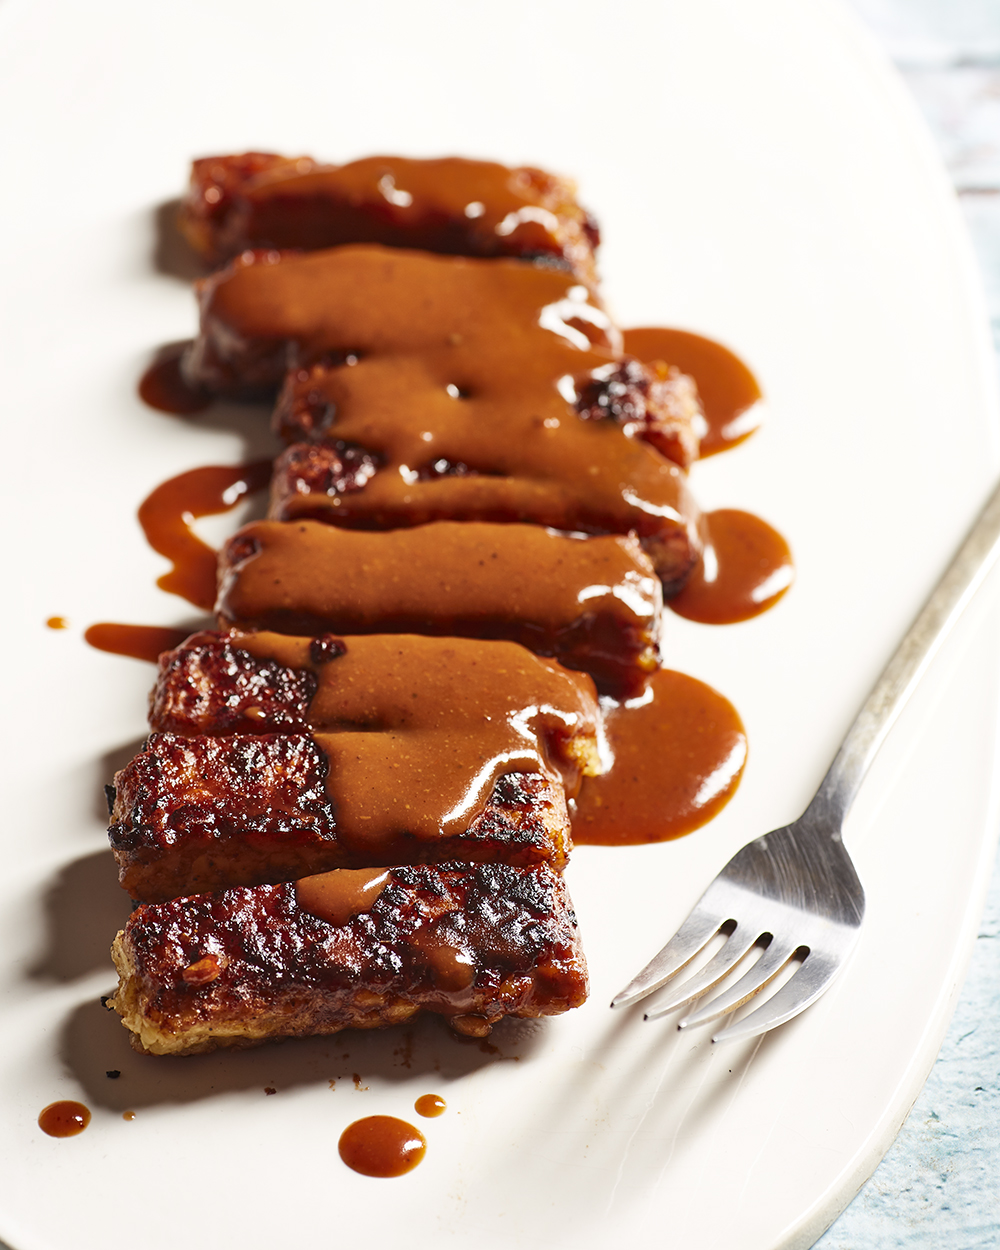
They’re perfect for tucking into sandwiches, making a vegan chick’n parmesan, slicing over a Caesar salad, slathering with gravy or BBQ sauce, or reheating for quick weeknight dinners. Use anywhere that a vegan chicken cutlet would fit in. They also hold up beautifully for meal prep, which is something I appreciate more and more as time goes on.
I’ve pared down the ingredient list slightly from the original cookbook, but just slightly. And because people always ask, there are now food processor instructions. Hopefully that makes these homemade vegan cutlets even easier and more foolproof than before (and they were already pretty easy.)
The texture you want is firm and lightly crisp on the outside, chewy and structured on the inside. Let the cutlets rest for about 10 minutes after cooking before slicing into them. That short rest helps everything set so you get clean slices and the best bite.
This is what a vegan chicken cutlet is supposed to taste like, and once you go scratch, there’s no going back.
FAQ
Can I bake them instead?
Yes, absolutely. Preheat your oven to 375°F and lightly oil a baking sheet or line it with parchment. Brush both sides of each formed cutlet with a little olive oil, then arrange them on the sheet. Bake for about 20 minutes, flip, and bake another 8 to 10 minutes, until firm and golden brown. Let them cool for a few minutes before serving so they can set up properly.
What can I use instead of breadcrumbs, and can I use panko?
Yes to the panko — it works great. The key is DRY crumbs. You can use ground-up crackers or flatbread. What doesn’t work well is homemade breadcrumbs made from fresh bread. They tend to hold too much moisture and throw off the texture.
What kind of vital wheat gluten should I use?
Vital wheat gluten can vary by brand. These vegan chickpea cutlets come out great with either Arrowhead Mills or Bob’s Red Mill, although Bob’s makes them slightly firmer and chewier.
Can I freeze them?
Yes! Let the cutlets cool completely, then store them in an airtight container or freezer bag with parchment between layers. Freeze for up to 3 months. Reheat in a skillet or in a 375°F oven until warmed through and lightly crisp again. They hold up beautifully, which is one more reason to make a double batch.
Since these are already doubled, can I double them again?
Uh huh. Make as many as you can. Quadruple it, why not?
Can I make these gluten-free?
I haven’t had success making a gluten-free version, since vital wheat gluten is what gives these their structure and chew. There are versions out there if you search, but I can’t personally vouch for them.
Doublebatch Chickpea Cutlets
Ingredients
- 1 16 oz can chickpeas drained and rinsed
- 1/4 cup extra virgin olive oil
- 1 cup vital wheat gluten
- 1 cup plain breadcrumbs
- 1/2 cup vegetable broth or water
- 1/4 cup soy sauce
- 1 teaspoon dried thyme
- 1 teaspoon paprika
- 1/2 teaspoon dried sage
- Olive oil for pan frying
Optional ingredients:
- 4 cloves garlic pressed or grated with a Microplane grater
- 1 teaspoon grated lemon zest
Instructions
- In a mixing bowl, mash the chickpeas together with the oil until no whole chickpeas are left. Use an avocado masher or a strong fork. Alternately, you can pulse the chickpeas in a food processor. We’re not making hummus here, so be careful not to puree them, just get them mashed up. You can also sneak the garlic cloves in here instead of grating them, just pulse them up before adding the chickpeas. If using a food processor, transfer to a mixing bowl when done.
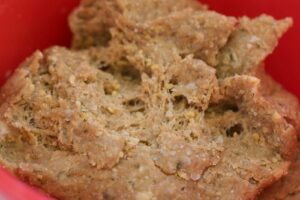
- Add the remaining ingredients and knead together for about 3 minutes, until strings of gluten have formed. The strings should look like this (click photo for an even closer up view):
- Preheat a large heavy-bottomed skillet over low-medium heat. Cast iron works best. If you have two pans and want to cook all the cutlets at once then go for it, otherwise you’ll be making them in two batches.
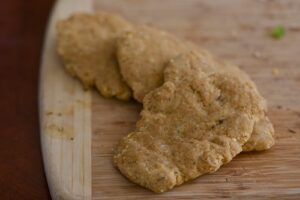
- Divide the cutlet dough into 2 equal pieces. Then divide each of those pieces into 4 separate pieces (so you’ll have 8 all together). To form cutlets, knead each piece in your hand for a few moments and then flatten and stretch each one into a roughly 6 by 4 inch rectangular cutlet shape. The easiest way to do this is to form a rectangle shape in your hands and then place the cutlets on a clean surface to flatten and stretch them. (OK, maybe my surface wasn’t that clean.)
- Add a moderately thin layer of olive oil to the bottom of the pan. Place the cutlets in the pan and cook on each side for 6 to 7 minutes. Add more oil, if needed, when you flip the cutlets. They’re ready when lightly browned and firm to the touch. I’ve found that they cook more thoroughly if I cover the pan in between flips. I also use my spatula to press down on them while they’re cooking, that way they cook more evenly.
- Now let them rest for a bit and you’re done!




[…] toasty crunch. If you’d like to add protein, toss in some chickpeas or top with tempeh or tofu, a chickpea cutlet or even some storebought fake chick’n sliced up. Avocado, of course, never hurts […]
[…] As an alternative of roasting chickpeas, serve this pasta with chickpea cutlets. […]
OMG, so good! I usually am hesitant about vital wheat gluten because no matter how much spice I add you can still taste the wheat – not with this recipe. The taste is reminiscent of a chicken fried dish – crispy, crunchy, this is comfort food at its best! Thank you for showing a different way to use VWG.
Can you bake these? If so, what temp and for how long?
I made these for the first time tonight (so amazing!) and I fried half the batch per the directions, and the other half I threw on a baking sheet without any additional oil and baked at 400 degrees for about 20-25 minutes (sorry, didn’t use a timer, but I took them out when the top looked like it had a crust similar to the ones where I had followed the exact recipe). The baked ones were just as good as the ones I cooked in oil on the stovetop. I’ll be making these again & will bake them to save calories.
I make these without the oil and they’re great.
[…] Instead of roasting chickpeas, serve this pasta with chickpea cutlets. […]
[…] Roasted potatoes are a terrific addition to holiday meals with cauliflower steaks or chickpea cutlets. […]
[…] out theppk.com for full photo […]
[…] great with your favorite store-bought veggie roast, chickpea cutlets, vegan skewers, or vegan chicken pot […]
[…] Double Batch Chickpea Cutlets […]
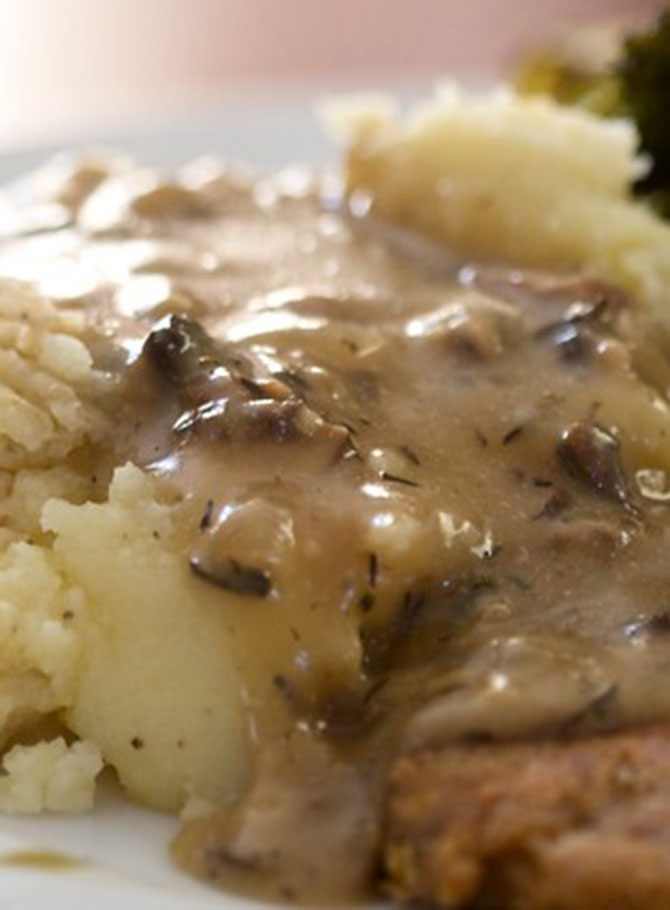
[…] Chickpea Seitan Cutlet (Isa Chandra) — served with the mushroom gravy recipe from Sweet Potato Soul […]
I add a bit of grated garlic, grated lemon zest and a little lemon juice to these along with some black pepper. Very very good.
Can you freeze them.
Yes!! I freeze them all the time.
Do you freeze them before cooking?
Trying to avoid oil for my husband, has anyone air fried these???
I haven’t air fried them but I can tell you from first hand experience that seitan puffs up A LOT in the air fryer. haha I made some seitan riblets in the air fryer that looked like giant yorkshire puddings, they puffed up so much. So air frying these would definitely change the texture, although the new texture might be good too! If you try it out, let us know how it goes!
Looks like someone baked them and they came out the same, I think air fry would make them even crispier!
I have.. at 180 I just kept and eye on them. I like them crispy. They came out great !!
i have made these the real way and loved them, but i kind of put off making them again become of all the work. this time i tried making them with the dough hook attachment in my food processor instead of kneading and then baked them ~30 minutes @ 400 degrees and they came out great! will definitely make more often now that i have decreased the labor! thanks isa <3
I made these today after not having made them for 6 or 7 years. I literally used to make them every week! Anyway, I just had a big reminder as to why I used to keep these on hand all of the time. So good! And, a great protein source. I place them on a lightly greased baking sheet then bake them in a 400 degree oven. They come out nice and crisp!
I’m always looking for new recipes with higher plant protein and this hit the mark. Second time around, I skipped the oil, bouillon and breadcrumbs and added TVP (textured veggie protein) in place of the crumbs. Also added a little more liquid and spices like garlic, etc to make sure the TVP could rehydrate a bit. In short, they turned out great! A lot less salty than w/the bouillon and just as delicious.
What are the macros on these?
They are delicious
These are a great texture. Made half a batch to try and they are knife and fork heaven as a cutlet should be. I did mine oil free by swapping aqua fava for oil, no lemon zest, added some black pepper and I did pan fry in a dry pan just to brown, and then baked covered for 25 minutes. Served mine for breakfast with hashbrowns and a thick creamy white pepper gravy. I`m in love. Thank you.
I make these every Thanksgiving! They are a favorite.
Excellent—we make this recipe every Thanksgiving for my vegetarian family!
Love them
This is my family’s favorite recipe. It makes great leftovers and freezes well.
Subs to make gluten free for celiacs?
Please read the FAQ <3
It is baking right now. Smells Delicious!
This is such a good recipe. Very delicious!
Made these for the first time today and they were so good! Everyone loved them.
This is one my favorite recipes! Thank you!
STILL my go to for any “chicken” dish. Perfect.
I make these on repeat. Always baked though. Topped with gravy….YUM!
The best
The absolute best! Great for Thanksgiving, sandwiches, any recipe that calls for chicken.
My husband and I love these cutlets so much—they’re our go-to for special occasions like Thanksgiving and Christmas and birthdays, but they’re easy and delicious any time. Since there are only two of us, a double batch lasts us several days. We have them with gravy and mashed potatoes first; when the gravy runs out, we make chickpea parmesan. They also work great in a sandwich. Versatile and delicious—a classic!
Completely delicious and easy to make. I feel very fancy when I make them and they are so good with caulipots and a vegan gravy if you’d like. I also will fuck one up just plain because I’m a level 9 vegan!!!
I make these cutlets routinely and freeze for repeat meals. It is perfect with mashed potatoes and a green veg for a real comfort meal.
Just absolutely classic PPK recipe right here. If you have never made these you are missing out, it’s just a fact, make them right now! They go with everything and are sooo goooood! I always bake mine, and leave ’em in the oven for a pretty long time so they get all chewy. I might have to make these tonight now that I’m thinkin’ about ’em and I know how easy they are, so why not….
I love these! I’ve made them many times and am always happy with the result. I’ve even freestyled a little bit and made them with black beans (good, but not as good as chickpeas).
This was the first recipe from your site that I posted, so many years ago. It is still my go to for cutlets.
Chickpea cuddlies as we call them in our family!
Love these! I have been making these for over 10 years, and everyone in my family loves them – even my picky non-vegan husband. He said that they remind him of Shake n’ Bake chicken. Lol. I’ve never had Shake n’ Bake anything, but these are delicious – especially with some vegan gravy and mashed potatoes. When my kids were younger, I used to make them smaller and shape them into nuggets. Definitely give them a try!
Lovely and easy recipe to batch cook for convenient protein during the week!
My family loves these! My very picky 3 year old will devour them. I appreciate how versatile they are in different recipes, but honestly they are so good I will just eat them by themselves sometimes!
This are great! Easy to make and tasty! thanks so much
I love the OG recipe from Veganomicon, but this is the version I end up making most frequently because it makes more. I usually do a double doublebatch so I can throw a bunch in the freezer. I also bake them instead of pan-frying (instructions for baking are in Veganomicon).
I made this tonight, OMG so much better tasting than plain seitan. The bodybuilder boyfriend approves as well. Thanks!